Seed Saving: Beans
Beans are a good crop to start with if you are brand new to seed saving. Bean seeds are large and easy to see and handle. Other than drying, there is no special process required to prepare the seeds for storage.
Plants are divided into two categories, bush beans and climbing beans. Bush beans grow around 1 m and tend to produce their crop around the same time. While climbing beans grow to around 2 m on poles or trellis supports and continues to produce new pods all the growing season.
Beans are self-pollinating and pollination usually happens even before the blossom opens. So, they are less likely to cross-pollinate even when growing close to each other. However, to be on the safe side, try to plant different varieties of beans at least 5 m from one another if you are saving seeds to avoid cross pollination.
Step 1: Plant Open Pollinated Seeds
Grow open-pollinated or heirloom varieties and not hybrids for seed saving. All heirloom plants are open-pollinated and have developed naturally over years. Saving seeds from open-pollinated plants will result in a plant that has the same characteristics as the parent plant. Plants can also adapt over time to grow well in your garden environment.
Step 2: Choose Healthy Plants
Select the heartiest and most vigorous plants to harvest bean seeds for next year’s crop. Do not save seeds from weak or diseased plants, or plants that are infested with pests.
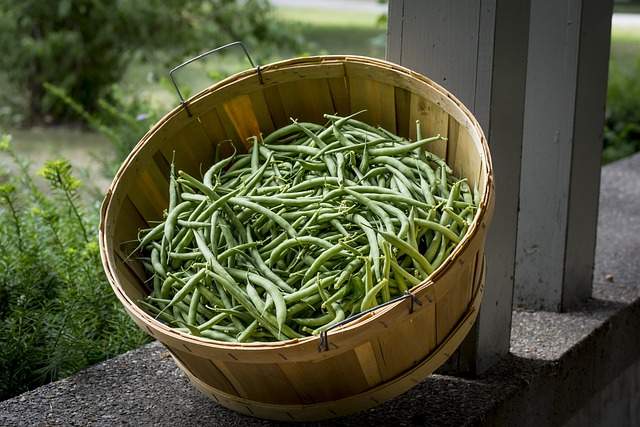
Choose plants that grow quickly, with healthy foliage and vines, and pods that are well developed with plenty of even sized seeds. These will be the healthiest plants to harvest.
Green beans generally average 6 seeds per pod, and most plants produce over 20 pods per plant. So, the potential is around 120 seeds per plant! From this you can work out your seed needs for the following season.
Step 3: Let The Plants Go
Allow the bean pods to mature fully on the plant. The seeds will fill out the pod as they grow. Then the pod will begin to turn yellow and brown as the pods and bean seeds dry. Seed maturity can take up 4 to 6 weeks, depending on the variety.
Keep in mind, when you allow the pods to mature on the plant, the plant will focus its energy on ripening those seeds and will stop producing new pods. So, either harvest some beans before allowing the plant to go to seed or dedicate a growing bed to producing seeds only.
Step 4: Collect The Pods
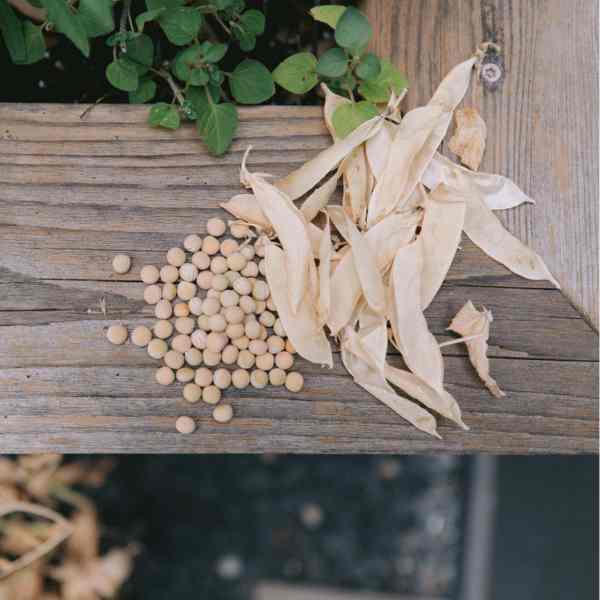
The bean pods should feel papery and dry when ready. You should hear the bean seeds rattle when you shake the pod. Once the pods are dry, pick the beans from the plants to dry further indoors. Be sure to harvest all the pods before winter.
If the pods are not dry before winter, pull the whole plants and let them dry further indoors. I tie the plants together and let them hang from the roof on my balcony.
Step 5: Dry Out The Bean Seeds
Spread the dried pods in a single layer on a drying screen and let them dry further in a well-ventilated location, until the pods are papery and brittle. Dry for at least two weeks before testing the bean seeds.
Step 6: Test The Seeds
Shell a pod and test several bean seeds with your fingernail. Press your fingernail into the seeds. If it leaves a dent, the seeds need to dry longer. You can also test the beans by hitting them lightly with a hammer. The bean seeds will shatter when they are completely dry.
Step 7: Shell And Store
Once your bean seeds are dry, remove them from the pods, and freeze them to kill any weevils that may be in the seeds. Place the dried beans in a freezer bag, seal, and place in the freezer for about a week. Then remove the bag, spread out the beans in a single layer to let them thaw and evaporate moisture for about a day.
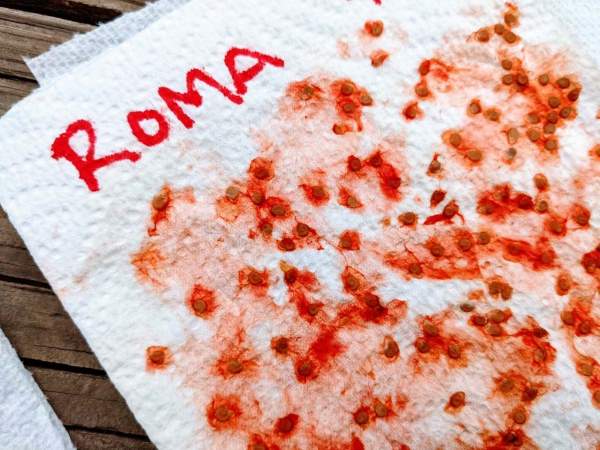
Place your dry beans in an airtight container. Label with the name of the beans and the year collected. Store your seeds in a dark and cool location and pop in a silica sachet to absorb any moisture that may occur.