


Nigella Persian Jewels
$4.95
Nigella Damascena
- Seed Count 500
- Hardy Self Sower
- Height 45 cm
- Annual
In stock
Description
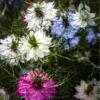
Nigella Persian Jewels bears delicate, old-fashioned flowers of red, rose pink, blue, deep violet-blue and white which open a pale colour but mature to their intense, pure shades, each backed by a wispy, bright green ruff.
Viewing the flowers from afar these flowers look as though they are floating in a mist.
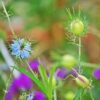
One of the most interesting shaped flowers you will ever see, both for its blooms and attractive fennel-like foliage.
These flowers are well suited for traditional cottage garden settings or plant in a meadow where the soil is a little on the dry side and not too rich.
It is a charming, hardy, self-sowing annual, flowering the same year, that’s very much at home in any garden.
It is also a very popular cut flower and can be dried for winter decoration.
| Method: Sow direct or seedlings | Soil Temp: 10°C - 25°C |
| Cool Mountain: Nov - Dec | Germination: 7 - 14 Days |
| Arid: Aug - Jan | Position: Part sun |
| Temperate: Sep-Nov, Mar-Jun | Row Spacing: 30 cm |
| Sub Tropical: May - Oct | Planting Depth: 3 mm |
| Tropical: Jun - Aug | Harvest: 100 Days |
✨ Sowing: In Trays vs. Direct
Nigella is a taprooted annual, which means it prefers to stay put once it germinates. Because of this, direct sowing is generally best. It doesn’t love being disturbed. That said, if you’re starting very early or need more control over your sowing, you can start it in trays—just be extra gentle at transplant time.
🌱 Direct Sowing
Sow seeds straight into prepared garden beds once the soil has cooled slightly—late summer through autumn is ideal in most of Australia, particularly in temperate zones. In warmer climates, aim for autumn to early winter, while cooler zones may wait until early spring.
- Depth: 5mm
- Spacing: Thin to 15–20cm apart
- Germination: 7–21 days, depending on temperature
Tip: Sow in succession every 2–3 weeks for a longer flowering period.
🌿 Tray Sowing (if needed)
Use biodegradable pots or soil blocks to avoid disturbing roots later. Keep in a cool, bright spot and transplant once plants are sturdy but still young—ideally before they develop long roots.
🛁 Seed Pre-treatment
No pre-treatment is needed. Nigella germinates readily under the right conditions—cool soil, gentle moisture, and a little patience.
🌞 Soil & Position
🌱 Soil
Nigella isn’t too fussy, but it thrives in well-drained, moderately fertile soil. Heavy clay or boggy patches can cause rot, so work in compost and loosen the soil before sowing.
- pH: Neutral to slightly alkaline (6.5–7.5)
- Improvement Tip: Mix in compost or aged manure, but avoid high nitrogen—it encourages foliage over flowers.
☀️ Position
Plant in full sun for the best flower display. Nigella will grow in part shade, but blooms will be fewer and the plants leggier.
🌼 Care & Maintenance
Once up and growing, Nigella is quite self-sufficient. It doesn’t demand much—just a bit of attention now and then to keep it at its best.
- Water: Moderate. Keep moist while germinating. Once established, it’s fairly drought-tolerant.
- Mulch: Light mulch helps suppress weeds and retain soil moisture.
- Feeding: Optional. A side-dress of compost during flowering can support ongoing blooms, but too much fertiliser may reduce flowering.
Deadheading (removing spent flowers) can encourage more blooms—but if you want to collect seeds or enjoy the sculptural seed pods, leave a few to mature naturally.
🌸 Companion Planting
Nigella makes a lovely companion in both ornamental and productive gardens.
🌼 Good Companions:
- Carrots, Lettuce & Beets – Nigella’s lacy foliage helps deter pests and its flowers attract pollinators.
- Roses & Peonies – Soft blue and white Nigella looks stunning beneath these larger perennials.
- Other Cottage Flowers – Calendula, cornflowers, poppies—Nigella plays well in mixed borders.
🌿 Avoid Planting With:
Tall or dense plants that will overshadow it—Nigella needs good light to bloom well.
✂️ Harvesting
Nigella gives you two harvests: the flowers and the decorative seed pods.
💐 For Fresh Flowers:
- Harvest in the early morning when the blooms have just opened.
- Cut with a long stem and place straight into water.
- Vase life is 5–7 days.
🎨 For Seed Pods (Dried):
- Wait until seed pods have fully developed and begun to dry on the plant.
- Snip and hang upside down in a cool, dry place.
🐛 Common Issues & Fixes
| Issue | Symptoms | Likely Cause | Fix/Prevention |
|---|---|---|---|
| Poor Germination | Patchy seedling emergence | Soil too warm or dry | Sow in cooler months and keep soil evenly moist |
| Weak/leggy plants | Spindly stems, few flowers | Too much shade or nitrogen | Move to sunnier position and avoid overfeeding |
| Powdery Mildew | White, dusty leaves | High humidity, poor airflow | Space plants well, water early in the day |
| Aphids | Clusters on new growth | Sap-sucking insects | Spray with a hose or apply insecticidal soap |
🌱 Seed Saving Guide
Saving Nigella seed is delightfully simple—and a bit addictive. Those balloon-like seed pods are not only pretty but also packed with viable seed.
How to Save:
- Allow pods to dry fully on the plant. They’ll turn tan and papery.
- Cut and bring indoors before rain or heavy dew.
- Over a tray, gently crush the pods to release black seeds.
- Remove any chaff or pod material.
- Store in a cool, dry place in an envelope or paper packet—label with variety and date.
Seeds remain viable for 2–3 years if kept dry and cool.
🌼 Final Thoughts
Nigella is one of those charming plants that quietly wins you over. Whether you’re weaving it through a veggie patch or creating a dreamy cut flower border, it asks for very little and gives back generously. It’s ideal for beginners, but even seasoned gardeners find it hard to resist the feathery foliage, delicate blooms, and sculptural seed pods.
So if you’re looking for a hardy, low-maintenance flower that brings both beauty and bees, Nigella is a wonderful choice to sow through autumn or early spring. 🌿
2 reviews for Nigella Persian Jewels
| 5 star | 100% | |
| 4 star | 0% | |
| 3 star | 0% | |
| 2 star | 0% | |
| 1 star | 0% |
Postage Charge
Orders under $35 attract a $4.95 shipping charge. Orders $35 and above have free shipping.
Order Times
Seed orders are normally dispatched within three business days. You will receive an email when seeds are mailed out.
Postage Days
Seeds are mailed out Tuesday to Friday at 1pm. Except for the Friday of long weekends.
Postage Times
WA 2-3 Days: SA,NT 3-5 Days: NSW, ACT, QLD, VIC: 5-7 Days
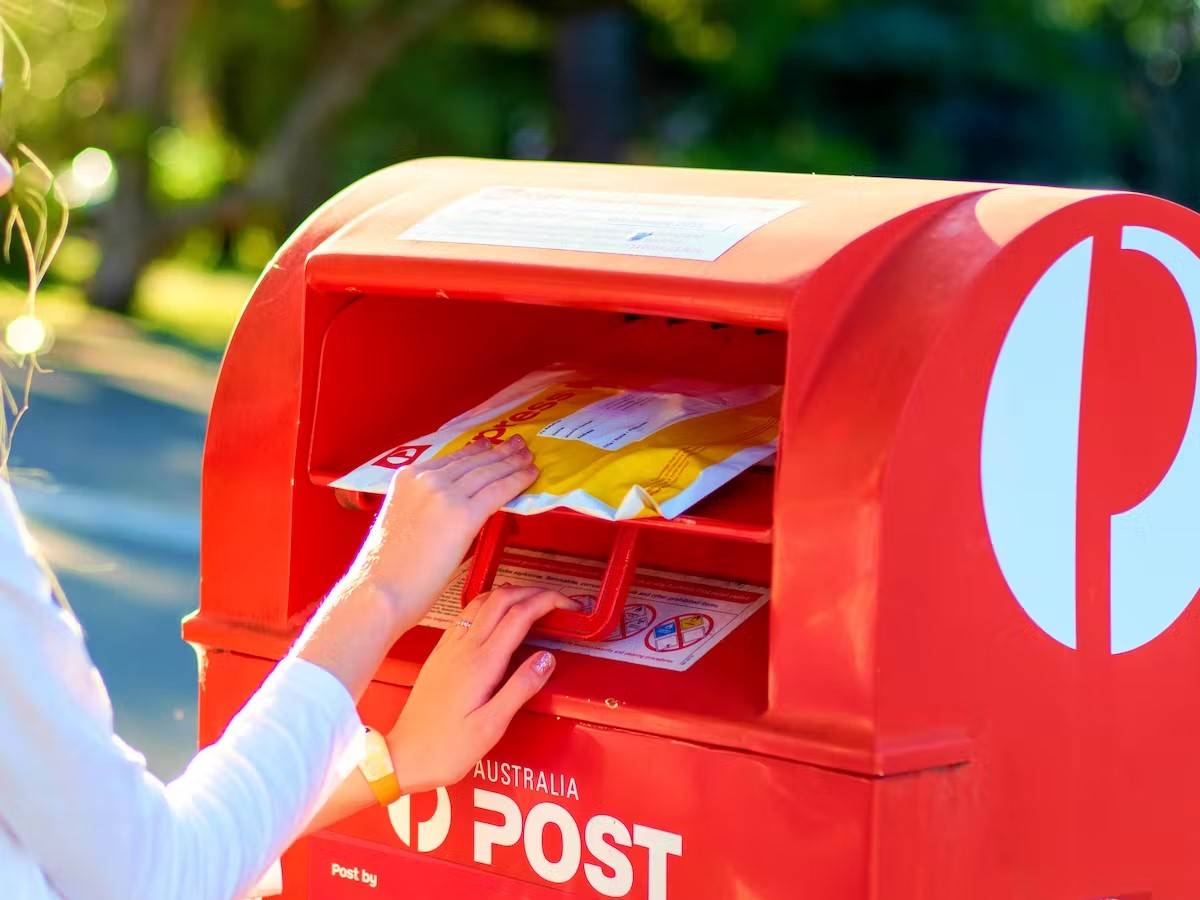
Carrier
We use Australia Post Letter Postage for the majority of orders
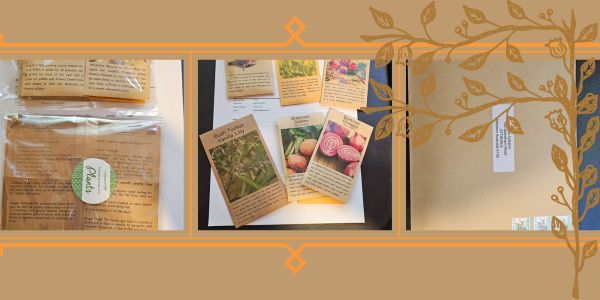
Not only are our seeds packed in recycled paper envelopes, we keep the theme going when we post out website orders. To protect your seeds from moisture and the letter box munchers (snails), we use a very special plastic free material made from plants. They are then put into recycled mailing envelopes. Green all the way 💚🌿
Delivery Guarantee
We take great care to make sure your seeds arrive safely. If your order is lost or damaged in transit, we’ll happily send a replacement. Unfortunately, we can’t replace or refund orders that arrive later than the estimated delivery date, as delays can sometimes occur that are outside our control.
Please note that all dispatch and delivery times listed are estimates only. While we do our best to post promptly, delivery timeframes can vary due to postal service delays, weather events, or other unforeseen circumstances. We’re unable to take responsibility for any loss, damage, or cost that results from a late delivery.
An order is not considered missing until at least 20 business days have passed from the postage date. You’ll receive an email once your seeds have been posted, letting you know they’re on their way. If you don’t see it in your main inbox, please check your Spam or Promotions folders as sometimes our emails like to hide there.

See all our verified customer reviews on our official CusRev profile.
See all our verified customer reviews on our official CusRev profile.